Chromebooks come with a built-in screenshot tool that makes capturing images of your screen easy. Knowing how to take a screenshot on a Chromebook is essential to saving an image for a presentation, documenting an issue, or sharing information with friends or colleagues.
In this article, we will explore various methods to take screenshots on a Chromebook, including built-in methods, keyboard shortcuts, third-party apps, and tips for capturing accurate screenshots. This guide aims to make your screenshot-taking experience seamless and efficient.

Built-in Methods for Taking Screenshots on a Chromebook
Chromebooks provide several built-in methods for taking screenshots. You can use keyboard shortcuts or the Quick Settings menu for convenience. Follow these steps to capture screenshots effectively:
丨Method 1: Using Keyboard Shortcuts
1) To capture a partial screenshot:
Step 1: Press Shift + Ctrl + Show Windows (the key with a rectangle and two lines).
Step 2: Your cursor will change to a crosshair. Click and drag to select the area you want to capture.
Step 3: Release the mouse button to take the screenshot. It will be saved automatically in the Downloads folder.
2) To capture the entire screen:
Step 1: Press Ctrl + Show Windows.
Step 2: The screenshot will be taken immediately and saved in the Downloads folder.
丨Method 2: Using the Quick Settings Menu
Step 1: Click on the time at the bottom right of your screen to open the Quick Settings menu.
Step 2: Select "Screen capture."
Step 3: Choose from the following options:
· Full-screen screenshot: Captures the entire display.
· Partial screenshot: Allows you to click and drag to select an area.
· Window screenshot: Click on a specific window to capture it.
Step 4: After capturing, the screenshot will be saved automatically in the Downloads folder.
Using Keyboard Shortcuts for Screenshots
Taking screenshots on a Chromebook is most efficient when using keyboard shortcuts. Follow these simple steps to capture your screen quickly and conveniently:
丨1. Capturing a Partial Screenshot
Step 1: Press Shift + Ctrl + Show Windows (the key with a rectangle and two lines).
Step 2: Your cursor will change to a crosshair. Click and hold the left mouse button.
Step 3: Drag your cursor to select the desired area you want to capture.
Step 4: Release the mouse button to take the screenshot.
Step 5: The screenshot will be automatically saved in the Downloads folder.
丨2. Capturing a Full-Screen Screenshot
Step 1: Press Ctrl + Show Windows.
Step 2: The entire screen will be captured immediately.
Step 3: The screenshot is saved automatically in the Downloads folder.
丨3. Accessing Your Screenshots
Step 1: Open the Files app on your Chromebook.
Step 2: Navigate to the Downloads folder.
Step 3: You will find your captured screenshots here, ready to be viewed, edited, or shared.
These keyboard shortcuts are invaluable for users who frequently need to capture specific parts of their screens. They save time and streamline the process, allowing you to quickly capture, save, and share screenshots as needed.
Installing Third-Party Apps for Screenshots
Some user-friendly apps recommended:
Lightshot
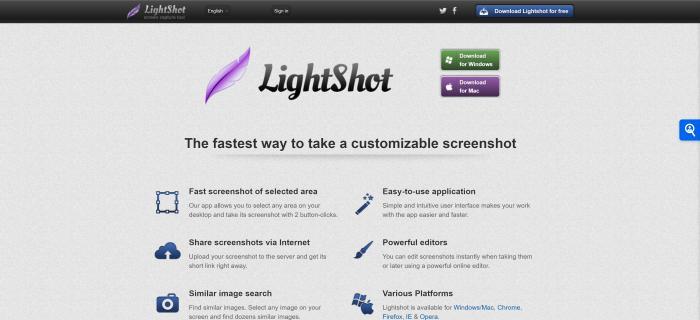
Lightshot is a user-friendly tool that allows you to take customizable screenshots quickly and easily. Suitable for users who need a straightforward, no-fuss solution for capturing screen content, Lightshot stands out with its intuitive interface and editing options. After taking a screenshot, you can immediately edit it by adding text, arrows, and highlights. It also offers quick sharing capabilities, making it ideal for users who frequently share their screenshots online or through email. Lightshot is particularly beneficial for those who require simple, yet effective, annotation tools without needing advanced features.
Greenshot
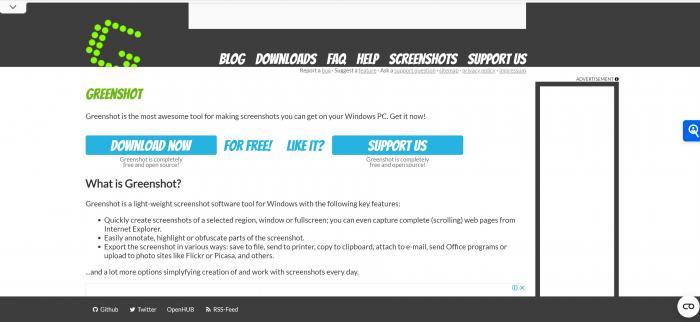
Greenshot is designed for users who need comprehensive annotation tools for editing and sharing screenshots. Perfect for professionals who need to highlight or comment on specific parts of their screenshots, Greenshot provides a wide range of editing options, including text, shapes, and arrows. Its unique feature is the ability to export screenshots directly to various applications like Microsoft Office, or upload them to cloud services. Greenshot is well-suited for detailed documentation and presentation preparation, offering robust features that enhance the screenshot editing and sharing process.
ShareX

ShareX is a feature-rich app that supports multiple capture methods and extensive editing options. Highly customizable and supporting various workflows, it is ideal for advanced users and developers who need a versatile tool. ShareX allows capturing entire screens, specific windows, or custom regions, and includes advanced features such as screen recording, GIF creation, and automated capture tasks. Its unique feature is the extensive range of integrations with cloud storage and sharing platforms, making it a powerful tool for those who need an all-in-one solution for capturing and sharing content.
Another Way for Capturing Full-Page Screenshots on a Chromebook
丨Step-to-step guide:
Step 1: Open the webpage you want to capture.
Step 2: Press Ctrl + Shift + I to open Developer Tools.
Step 3: Press Ctrl + Shift + P to open the Command Menu.
Step 4: Type "screenshot" and select "Capture full-size screenshot".
Step 5: The screenshot will be saved in the Downloads folder.
Editing Screenshots on a Chromebook
Screenshots taken on a Chromebook are automatically saved in the Downloads folder. To edit a screenshot, follow these steps:
丨1. Accessing Your Screenshot
Open the Files app from your app launcher or shelf.
Navigate to the Downloads folder to locate your recently captured screenshot.
丨2. Opening the Screenshot for Editing
Double-click on the screenshot file to open it with the built-in image editor. This intuitive editor allows you to make quick adjustments to your images.
丨3. Using Editing Tools
Utilize the available tools to crop unwanted areas, annotate with text or shapes, and adjust brightness or contrast as needed.
Make sure to save your changes after editing, either by clicking on the save icon or using Ctrl + S.
This simple editing process makes it easy to enhance your screenshots, allowing you to create more polished visuals for sharing or documentation.
Screen recording tutorial: How to Screen Record on Mac, iPhone, Windows & Chromebook
Tips for Capturing Screenshots with Accuracy
Tips for Capturing Screenshots with Accuracy
丨Use Keyboard Shortcuts for Quick Captures
To capture a full-screen screenshot quickly, press Ctrl + Show Windows (the key with a rectangle and two lines). For a partial screenshot, press Shift + Ctrl + Show Windows and then click and drag the cursor to select the desired area.
丨Utilize the Partial Screenshot Tool for Specific Areas
To take a screenshot of a specific area, press Shift + Ctrl + Show Windows. After pressing the keys, a crosshair cursor will appear. Click and drag the cursor over the area you want to capture, then release the mouse button to take the screenshot.
丨Ensure the Screen is Free of Unnecessary Items Before Capturing
Before taking your screenshot, minimize or close any tabs, notifications, or programs that you don’t want to appear in the image. This helps maintain a clean and professional look for your captured screenshot. You can also use Focus Mode in some applications to hide distractions.
丨Use Third-Party Apps for Advanced Editing and Annotation
If you want more advanced editing options, download a tool like Lightshot or Greenshot. For example, after installing Lightshot, press the designated shortcut (usually Print Screen) to take a screenshot, and use the built-in tools to add text, arrows, or highlights directly on the image.
丨Regularly Organize and Rename Your Screenshots for Easy Access
After capturing a screenshot, navigate to your Downloads folder. Right-click on the screenshot file, select Rename, and give it a descriptive name (e.g., “ProjectProposal_Screenshot_01”). Consider creating subfolders for different projects or categories to keep your screenshots organized, making them easier to locate later.
Summary
In conclusion, mastering the art of taking and editing screenshots on a Chromebook can significantly enhance your productivity and streamline your workflow. Whether you utilize built-in methods, keyboard shortcuts, or third-party applications, these tools empower you to capture important information efficiently. By following the tips provided, you can ensure accurate captures and maintain organization, making it easier to retrieve and share your screenshots whenever needed. Start capturing your screen with confidence today!